Date: 2026.11.13 Click: 19
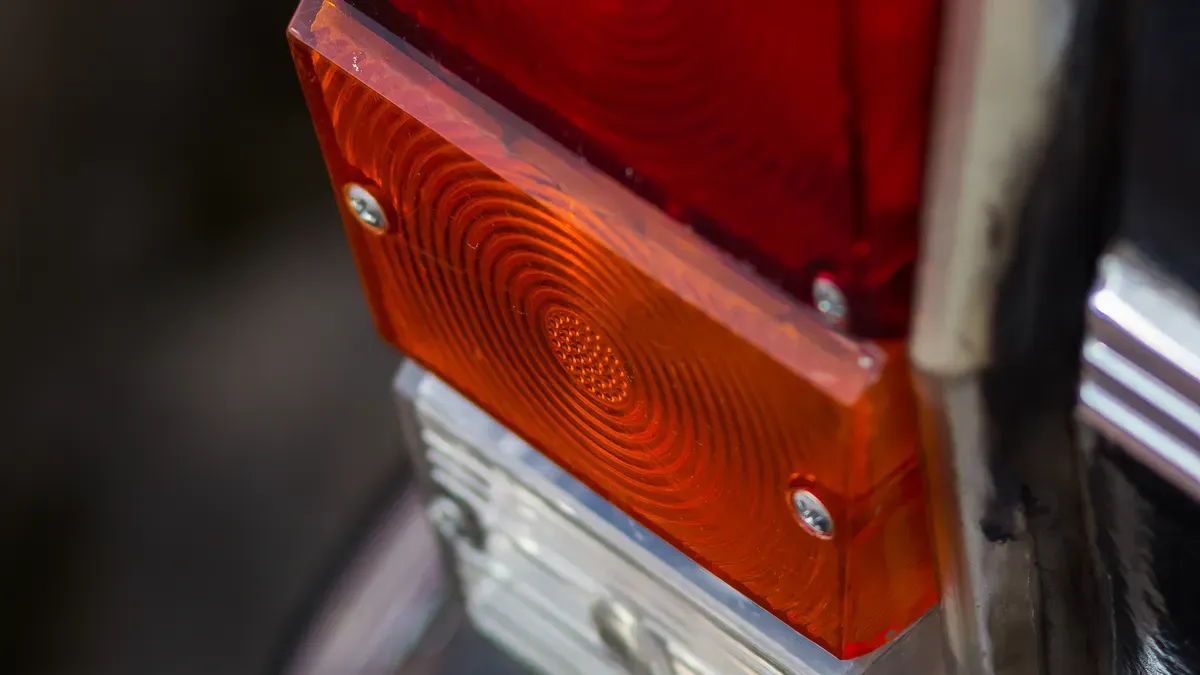
You can replace a car tail light yourself in five simple steps: gather your tools and safety gear, reach the assembly, remove the broken light, install the new one, and test and secure it. Replacing your broken tail lights saves you a shop visit and brings back safety and visibility. Most jobs take under an hour.
A bad tail light is a safety and legal issue, so fix it quickly. The tail light replacement process is simple for most cars. Exact fasteners vary by model, so check your owner's manual. You need no special mechanical skills to replace your vehicle's tail lights yourself.
Key TakeawaysCollect your tools and safety equipment before you begin the task.
Open the trunk or check your manual to reach the tail light assembly.
Take off the old tail light with care, and keep all the screws and clips in one place.
Put in the new tail light by matching the wires and tightening the nuts evenly.
Check every light function and fasten the unit firmly to keep things safe and legal.
Before you touch any hardware, take five minutes to plan the job. A little prep now saves a second trip to the parts store later.
You need a small set of common tools for this job. Grab a screwdriver set, a socket wrench, and a trim removal tool. Add gloves to protect your hands from sharp plastic edges. Most importantly, have your replacement tail light on hand before you start.
Safety comes first. Park on a level surface and turn off the engine. Check your owner's manual about disconnecting the battery. Some models recommend it, and it takes only a minute.
Want a visual reference? Search for how-to videos for your vehicle type. Trucks, SUVs, and cars each have their own quirks. Watching someone work on your model builds confidence fast.
Decide this before you buy anything. Sometimes you only need a new tail light bulb. Other times the housing is cracked, and you must replace your tail light assembly. This choice changes which parts you buy.
Inspect the damage closely. A cloudy lens or a cracked housing points to a full swap. A dark bulb with an intact lens usually means a simple bulb change. Match the tail light assembly and bulb to your make, model, and year. The correct parts and instructions prevent most installation headaches.
Buying the wrong part wastes time and money. Check the part number on your old unit or in the manual. A quick photo of your vehicle's tail light helps the counter staff find the right match. With tools ready and parts confirmed, you can move on to the next step.
Step 2: Access and Remove the Old Tail LightPop the trunk and look at the interior lining on the side with the damaged light. Most cars hide the mounting hardware behind a small access panel there. This panel is often a plastic cover you can pry off by hand or with your trim removal tool. Some models use a few clips instead. Work slowly and feel for the fasteners.
Not every car follows this layout. A few models mount the tail light assembly from outside the body, so you reach the screws with the trunk closed. Your owner's manual will tell you which design you have. Take a quick look before you force anything.
Your next move depends on the job. For a bulb-only fix, gently pull the tail light away from the vehicle. You will feel a little resistance from the socket. Twist the socket counterclockwise and slide the tail light bulb out. This is the moment to replace the tail light bulb with your new one.
For a full swap, the process takes a few more minutes. Unscrew the mounting nuts that hold the unit in place. Unplug the wiring harness with a firm, even pull. Then lift the old unit out of its pocket in the body. If you plan to replace your tail light assembly, this is the step where the old part leaves the car.
Keep every screw and nut in a small container or bag. Those fasteners are easy to lose on a garage floor, and a dropped nut can roll under a workbench. A magnetic tray works well too. Label the bag if you are working on broken tail lights on more than one side.
Handle the old unit with care as you pull it free. The plastic can crack, and any trapped water may spill out. Set the part aside on a soft cloth. Now you have a clear view of the cavity, and the replacement tail light is ready to go in. One last check: confirm the new part matches the old one before you move on. A quick side-by-side look now saves a headache later. You have removed the old assembly, and the hard part is behind you.
Step 3: Install the New Tail Light Assembly
Before anything goes back into the car, hold the new part next to the old one. Check the shape, the mounting holes, and the connector style. Confirm the part number matches your vehicle's make, model, and year. A specific tail light assembly built for your car will line up without force. If the fit looks wrong, stop and exchange the part. Forcing a mismatched unit can crack the housing or damage the wiring.
Now reconnect the electrics. On a full unit, push the wiring harness plug firmly into the socket on the back of the assembly. You should feel a click when it seats. On a bulb-only job, press the new tail light bulb into the socket and twist it clockwise until it locks. Give it a gentle tug to confirm it holds. A loose bulb can flicker or fail once you hit a bump.
Take a moment to inspect the old part as you work. On an older car, a cracked lens or a small housing crack can sometimes be repaired with a lens repair kit instead of a full swap. Weigh that option against the cost of a replacement. A repair makes sense for minor damage on a car you plan to keep short-term. A full swap is the safer call when the housing is deeply damaged or the reflector is compromised.
Guide the new tail light assembly into its pocket in the body. Line up the mounting studs with the holes before you push. The unit should sit flush against the body panel with no gaps along the edges. If it rocks or stands proud, pull it back out and check the alignment. Never tighten a unit that is not seated correctly.
Start the mounting nuts by hand. Turn each one a few threads, then move to the next. This even pattern prevents the plastic from warping. Once all nuts are threaded, snug them with your socket wrench. Stop when you feel firm resistance. Over-tightening is a common mistake, and it can crack the housing or strip the studs.
Step back and look at the car from behind. The tail light lens should sit level with the body lines on both sides. Run a finger along the edge to feel for gaps. If everything looks right, you are ready for the final test. This is also a good moment to check that your work matches the other side. Mismatched tail lights stand out, and a quick comparison now catches problems early. With the unit seated and snug, the install is done. The last step is the one that proves your work.
Step 4: Test and Secure Your Tail Lights
Now you get to prove your work. Turn on the headlights and walk to the back of the car. Your tail lights should glow bright and even on both sides. Press the brake pedal and watch for a stronger glow. Flip on each turn signal and check for a steady blink. If your car has reverse lights in the same housing, shift into reverse with the engine off and the key on, then take a look.
A helper makes this step much easier. Ask a friend to stand behind the car and call out what they see. You work the controls while they watch. This way you catch a dim bulb or a dead segment right away. Confirm that all tail lights are functioning correctly before you drive anywhere. A quick check now beats a traffic stop later.
Re-check every fastener one more time. Give each nut a gentle tug with your socket wrench. The housing should sit flush against the body with no gaps. Run your finger along the seam and feel for movement. A loose tail light assembly can rattle, collect water, or fail inspection.
Then clean up. Gather your tools, the packaging, and any stray clips. Put the old bulb or unit in a bag and dispose of it responsibly. Many auto parts stores accept old parts for recycling, so ask at the counter. If you would rather skip the work, a qualified mechanic can handle the replacement for you. Both paths are valid, and neither one is wrong.
You just completed a real repair. Take one last look at your car tail light before you drive off. A job done right keeps you visible and legal on every trip.
You now have the full picture. Gather your tools, access the assembly, remove the old light, install the new one, and test and secure it. Those five steps carry you from start to finish. You can replace your vehicle’s tail lights yourself, and you should feel proud of that.
Double-check your work before you drive. Confirm every fastener is snug and every tail light function works. Then hit the road with confidence. Keep all tail lights in working order for visibility and legal compliance. A quick replacement today keeps you safe and seen on every trip.
FAQMost jobs take under an hour. You gather tools, reach the assembly, swap the part, and test your tail lights. Some cars go faster. A few need extra time for hidden fasteners. Check your manual first, then set aside an afternoon to be safe. Clean tail lights and a snug fit mean you're done. Most tail light jobs need no special tools.
Check your owner's manual. Some models recommend it, and it takes a minute. Others don't require it for tail lights work. When in doubt, disconnect the negative cable. It's a cheap safety habit that protects you and your car's wiring. Reconnect it before you test your tail lights. A quick check of both tail lights confirms the job.
First, check the bulb seating and the wiring plug. A loose connection causes most failures. If one tail light stays dark, swap the bulb from the working side to test it. Still dead? Check the fuse. Blown fuses are common, and new tail lights often fix the issue once power flows. If the tail light still fails, check the ground wire.
No, not safely or legally. A dead tail light hurts your visibility and can get you pulled over. Fix it before you drive. The job is quick, and your tail lights keep you seen at night and in bad weather. Working tail lights also keep you legal on every trip.
Check the part number on your old unit or in the manual. Auto parts stores can match it. Online sellers list fit by make, model, and year. Bring a photo of your tail lights to the counter. Confirm the match before you buy, and inspect the new unit for shipping damage.
Please leave your requirements and contact information, and we will send you the quotation information as soon as possible.